A flat tire on an electric scooter can be a major inconvenience, but with the right knowledge and tools, you can quickly get back on the road. As a trusted Electric Scooter supplier, we understand the importance of being prepared for common issues like flat tires. In this blog, we'll guide you through the step - by - step process of fixing a flat tire on an electric scooter, ensuring you're well - equipped to handle such situations.
Step 1: Gather the Necessary Tools
Before you start, gather the following tools. You'll need a tire lever, a patch kit, a tube of tire glue, a tire pressure gauge, a pump, and some wrenches that fit your scooter's wheel bolts. These items can be found at most hardware or cycling stores. If you're looking to upgrade your scooter later on, you might be interested in our Electric Scooter Motor 72V, which provides high - performance and reliable power.
Step 2: Ensure Safety
Safety should always be your top priority. Park your electric scooter on a flat, stable surface and turn off the power. Make sure the scooter won't tip over during the tire - fixing process. If you are by a busy road, it's advisable to move to a safer area to avoid any potential accidents.
Step 3: Remove the Wheel
Using the appropriate wrenches, carefully remove the bolts or nuts that attach the wheel to the scooter frame. Keep these small parts in a safe place to prevent loss. Once the bolts are removed, gently slide the wheel out from the scooter.

Step 4: Deflate the Tire Completely
Use a valve tool or your fingers (if possible) to deflate the tire fully. This will make it easier to remove the tire from the rim. You might notice that a well - maintained tire holds air better. Our New Fashionable Electric Scooter comes with high - quality tires that are designed to be durable and puncture - resistant.
Step 5: Remove the Tire from the Rim
Insert a tire lever under the bead of the tire at the valve stem. Use the lever to pry the tire off the rim. Work your way around the rim, inserting more levers if necessary. Be careful not to damage the tire or the inner tube. Once one side of the tire is off the rim, you can easily pull the inner tube out.
Step 6: Locate the Puncture
Inspect the inner tube for punctures. Inflate the tube slightly and listen for the sound of escaping air or look for bubbles if you have soapy water handy. You can also run your fingers along the surface of the tube to feel for small holes. Additionally, check the inside of the tire for any sharp objects, such as nails or glass shards, that might have caused the puncture.
Step 7: Prepare the Patch
If you find a puncture, use sandpaper from the patch kit to rough up the area around the hole slightly. This will help the glue adhere better. Apply a thin layer of tire glue to both the patch and the area around the puncture. Let the glue dry for a few minutes until it becomes tacky.
Step 8: Apply the Patch
Carefully place the patch over the puncture, pressing it firmly to ensure a good seal. Rub the patch with your fingers to eliminate any air bubbles between the patch and the tube. Make sure the patch is aligned properly and covers the hole completely.
Step 9: Check the Patch
After applying the patch, inflate the tube a little and check for any air leaks around the patch. If you still detect a leak, you might need to re - apply the patch or use an additional patch if necessary.
Step 10: Re - install the Inner Tube and Tire
Place the patched inner tube back into the tire. Make sure the tube is not twisted and that the valve stem is positioned correctly. Then, start to put the tire back onto the rim. Begin at a point opposite the valve stem and work your way around the rim, using the tire levers as needed. Be careful not to pinch the tube between the tire and the rim.
Step 11: Inflate the Tire
Use a pump to inflate the tire to the recommended pressure. You can find the recommended pressure on the sidewall of the tire. Use a tire pressure gauge to ensure the tire is inflated to the correct level. Properly inflated tires not only provide a smoother ride but also improve the overall performance of your electric scooter.
Step 12: Re - attach the Wheel to the Scooter
Slide the wheel back into its original position on the scooter frame. Replace the bolts or nuts and tighten them securely. Make sure the wheel is properly aligned and spins freely without any rubbing.
Step 13: Final Checks
Before you hit the road again, give your scooter a thorough check. Test the brakes, ensure all lights are working, and make a short test ride to make sure everything is in order.
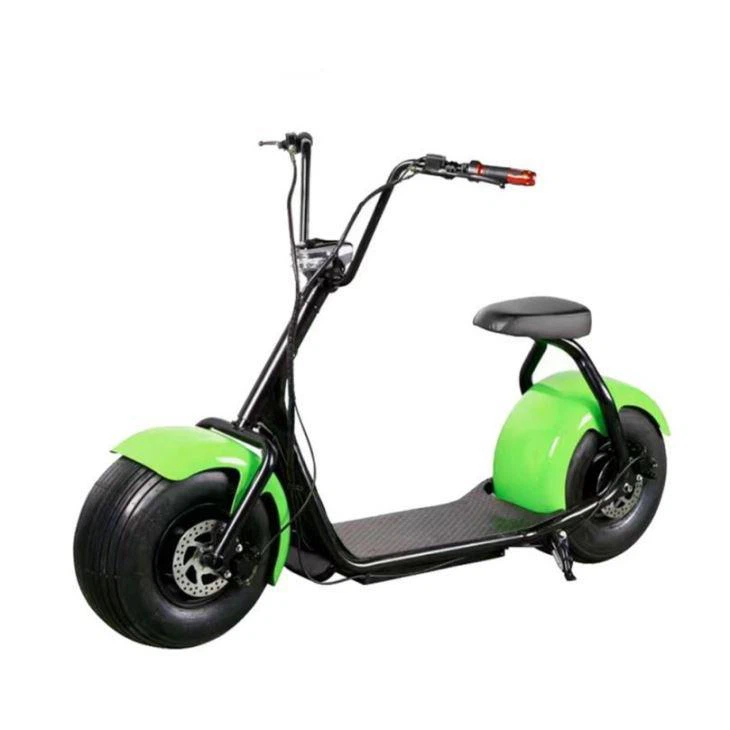
At our company, we are committed to providing high - quality electric scooters and accessories to meet your needs. Our Hot Selling Classic Electric E Motorcycle Scooter Electric Bicycle is a great option for those who want a reliable and stylish ride.
If you're interested in purchasing electric scooters, parts, or accessories, we invite you to contact us for procurement discussions. We have a wide range of products to choose from and our knowledgeable team is ready to assist you.
References
- "Electric Scooter Maintenance Guide" - A well - known guidebook on electric scooter upkeep.
- Various industry reports on electric scooter components and their care.